These are my notes on how to use Adobe After Effects where i’m going to explain how it works and what effects i use to edit.
Warning
I’m self-taught and not a professional, so i’ll keep my explanations simple and i’ll just share my basic knowledge of what i use to edit

“Three two one, let’s jam”
Index
Index
Shortcuts cheat sheet (windows)
File Operrations
- New Project
Ctrl+Alt+N- Open Project
Ctrl+O- Save Project
Ctr+S- Close Project
Ctrl+Shift+W
Importing
- Import File
Ctrl+I- Import Multiple Files
Ctrl+Shift+I
Composition
- New Composition
Ctrl+N- Composition Settings
Ctrl+K- Add to Render Queue
Ctrl+M
Layer Operations
- New Solid
Ctrl+Y- New Text
Ctrl+Alt+Shift+T- Duplicate Layer
Ctrl+D- Split Layer
Ctrl+Shift+D- Pre-compose
Ctrl+Shift+C
Viewing
- Fit to View
Shift+/- Zoom In
Ctrl+ +- Zoom Out
Ctrl + -- Toggle Transparency Grid
Alt+Shift+Ctrl+T
Transform Project
- Anchor Point
A- Position
P- Scale
S- Rotation
R- Opacity
T
Keyframes
- Toggle Keyframes
Alt+Shift+P- Go to Next Keyframe
J- Got to Previous Keyframe
K- Show the Keyframes
U- Convert to Easy Ease (select the keyframes)
F9
Interface
The After Effects interface consists of several panels that enable you to work with projects, effects, and animations.
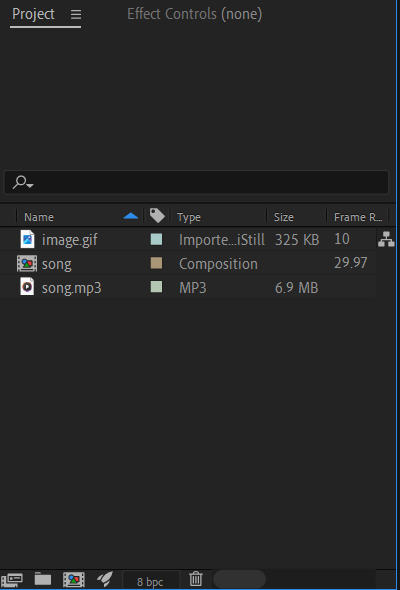
Project
This panel shows all the important elements of the project such as files or compositions.
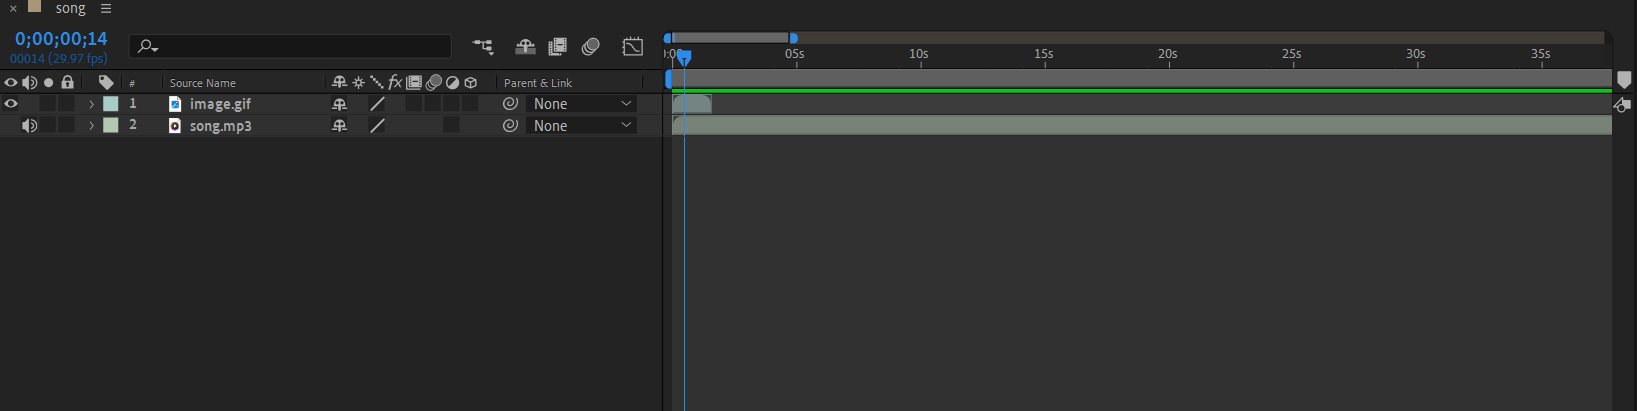
Timeline
This is the panel where you create and manage the animation timeline, including keyframes and duration.
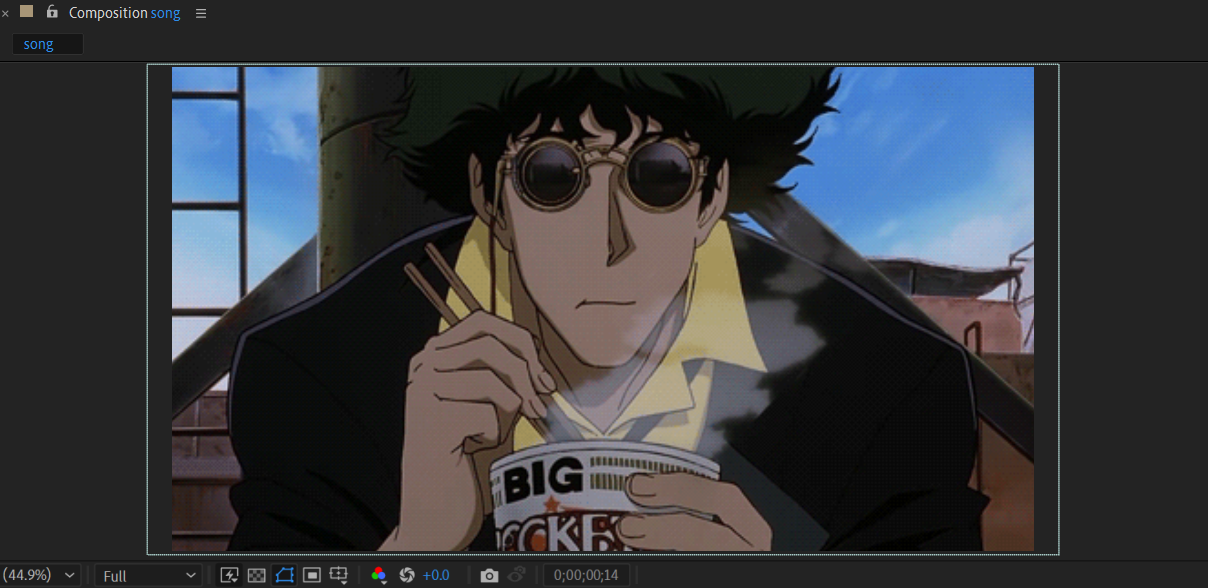
Composition
It is a window that displays a composition, allowing you to preview, arrange, and edit the visual elements, layers and settings of a project in a WYSIWYG (What You See Is What You Get) environment.
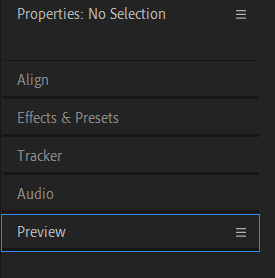
Secondary panels
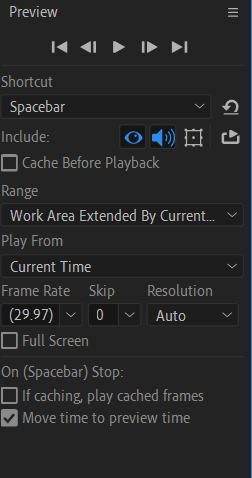
- Preview: allows you to visualize the preview of the animation
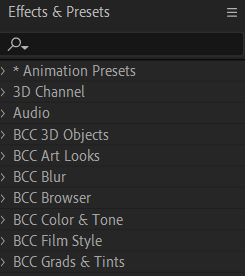
- Effects and Presets: offers a wide range of effects that can be applied to the layers
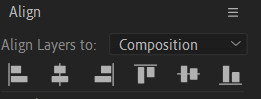
- Alignment: helps position and align elements within the compositions
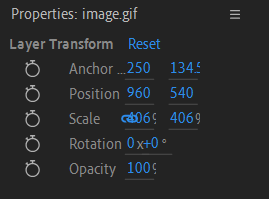
- Properties: shows details about the selected layer
How to create a project and import a file
When creating a new file, the first time you open After Effects, a window will appear asking whether you want to create a new project or open an existing one.
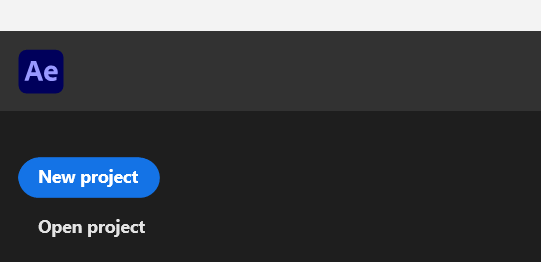
To create a new project, click on New Project. Otherwise, select Open Project and select the file based on its location in the directories.
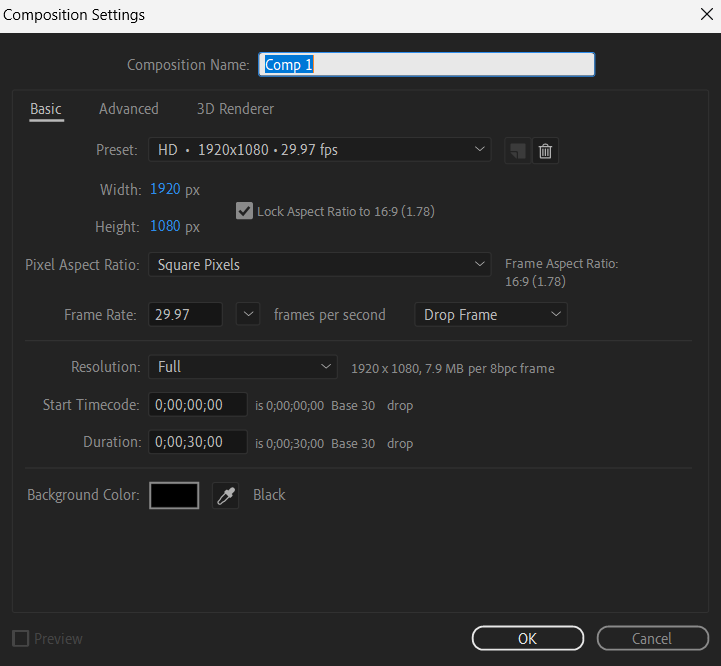
Once the project is open, the main interface of After Effects will be displayed (as previously explained). So, the next step is to create a composition and import the files you want to use and then edit them as needed.
In the Composition panel, click on the New Composition option, which will open a window where you need to specify the composition’s properties (height, width, frame rate, etc.).
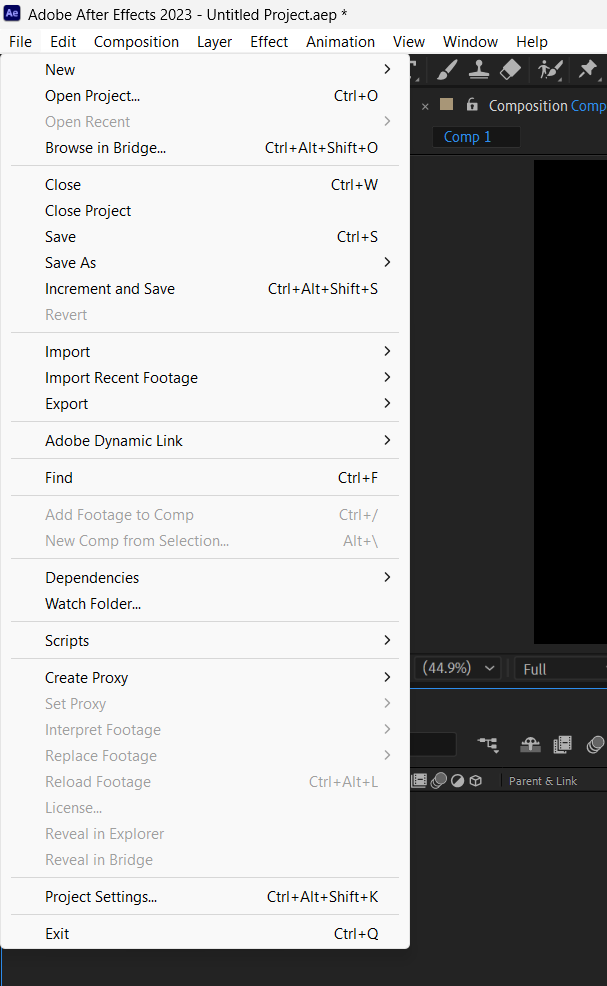
After creating the composition, to import files, navigate to the top left corner of the screen and click on the File menu. A dropdown menu will appear, from which you should select Import. Then, choose the files you wish to import into your project.
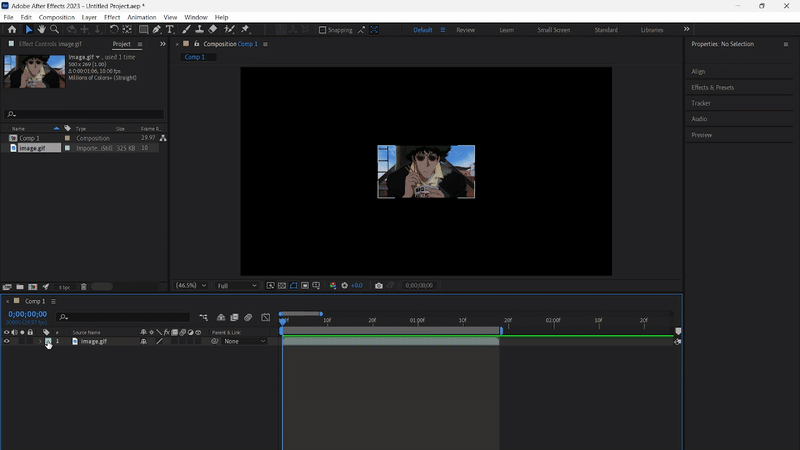
Now, all your files will be listed in the Project panel. The last step is to select the individual files and drag them onto the Timeline panel.

Keyframes and graphs
When working in After Effects, keyframes and graphs are important tools for creating smooth, professional-looking animations. Here’s a breakdown of how they work and how you can control your animations more precisely by using them.
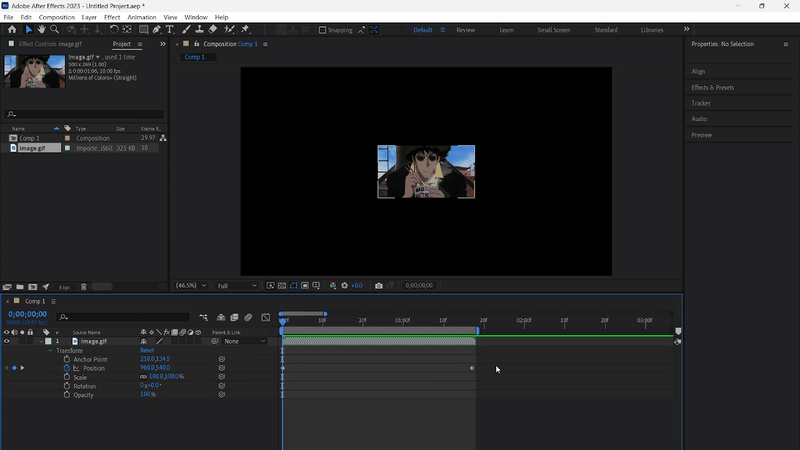
Keyframe
It is a marker that defines a specific value for a property (like position, scale, rotation, opacity, etc.) at a certain point in time. Think of keyframes as “checkpoints” in your animation. When you set two keyframes with different values, After Effects automatically calculates all the in-between frames (this process is called interpolation).
Example Set a keyframe at frame with an object on the middle of the screen, and another keyframe after a few frames with the object on the right side, After Effects will animate the object moving from left to right between those two points.
Types of keyframes
Not all keyframes behave the same way. There are different types of interpolation, which affects how the values change between keyframes.
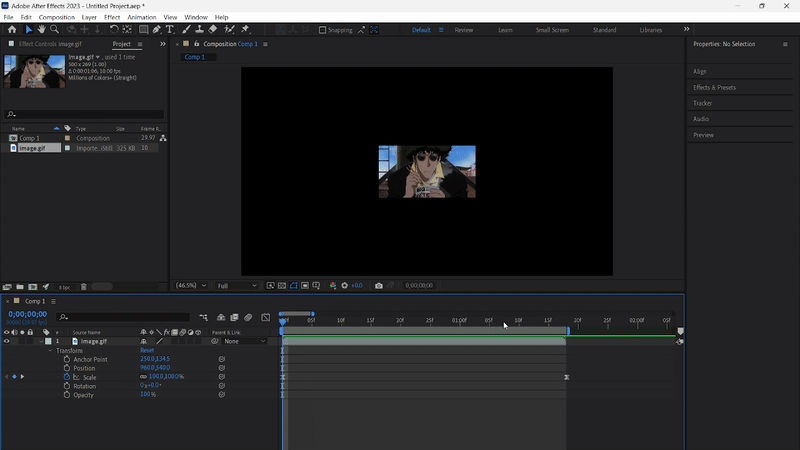
- Linear keyframes: these create a constant rate of changing between two points. The animations move at a stead and “mechanical” pace (no acceleration or decelerations). These keyframes appear as diamond shapes (such as the keyframes in the previous example).
- Eased keyframes: these allow the animation to gradually speed up or slow down, creating a more natural and realistic movement. When you apply easy ease, the keyframes become curves and appear as hourglass icons.
Easy ease example
Graph
It is where you can fine-tune how your animations behave between keyframes. It visually represents either:
The value graph This shows how the actual value of a property changes over time. For instance, if you’re animating position, it will display and coordinates changing as curves. The vertical axis represents the value (like pixels) and the horizontal axis represents time. A steeper slope means a faster change, while a flatter slope means slower change.
The speed graph Instead of showing values, the speed graph shows how fast those values are changing. The axis here represents speed, and the axis is still time. Tall peaks mean high speed and dips or flat areas mean slower or no movement. This graph is particularly useful when you’re trying to adjust how quickly an object accelerates or decelerates.
Modify graphs and animation curves
Once you’ve applied keyframes, you can jump into the graph editor and tweak the motion curves to get more nuanced results.
- The keyframes appear curved and allow you to shape the animation path. You can drag these handles to make the motion start slower and end faster (or the other way round)
- You can manually adjust the speed and influence of keyframes by manipulating these handles, allowing you to create effects like:
- Smooth acceleration and deceleration
- Sudden burst of speed
- Bounces, anticipations or overshoot
Warning
My tip is to not just read about it, but to actually try it out. Experiment with different settings, play around with the graphs and see what works best for you. That’s the best way to learn and develop your own style.
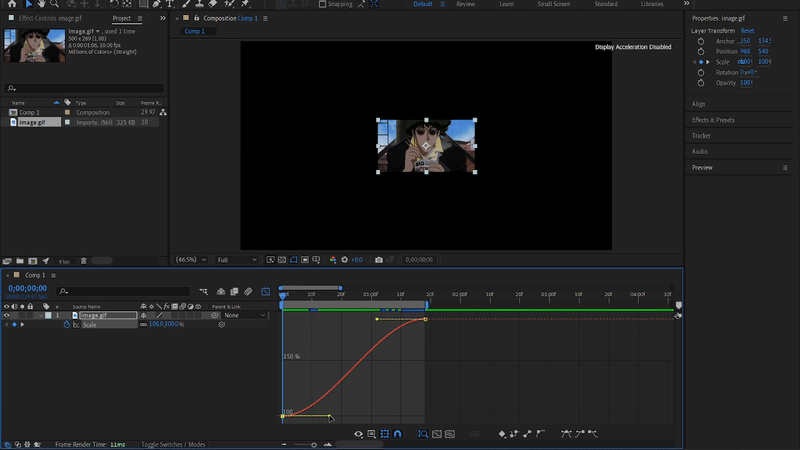
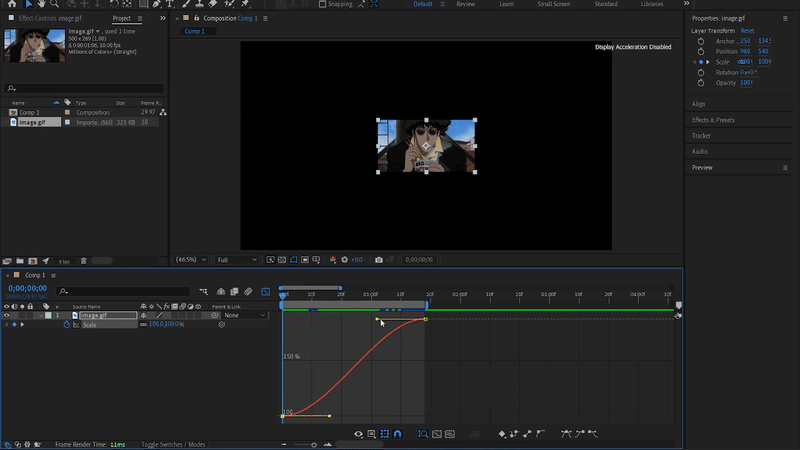
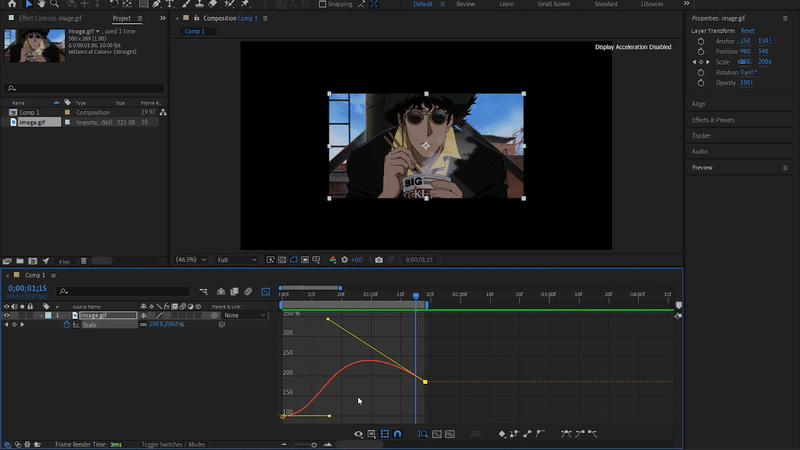
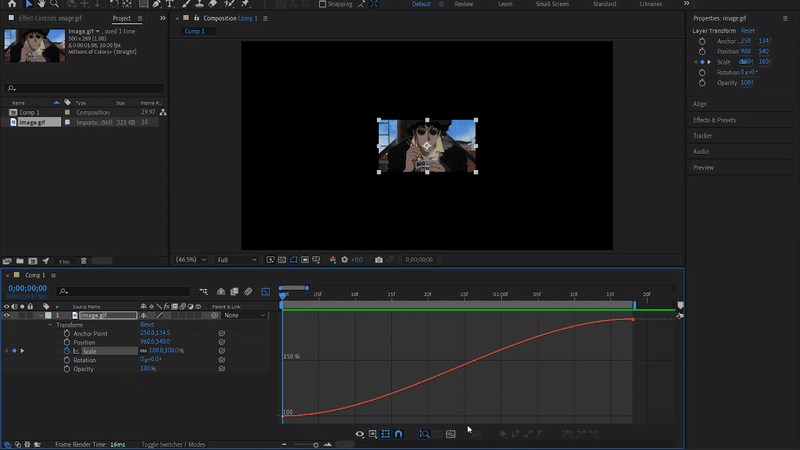
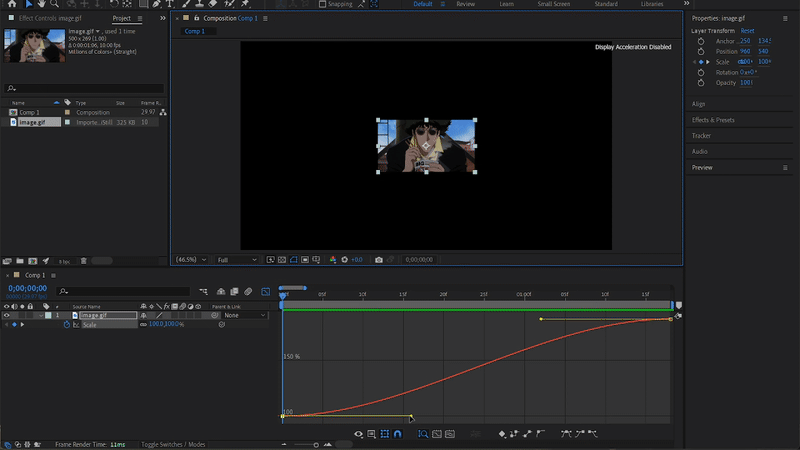
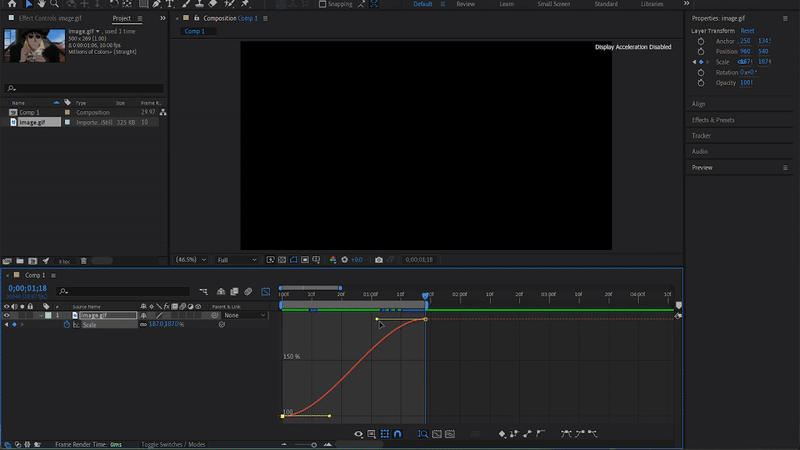
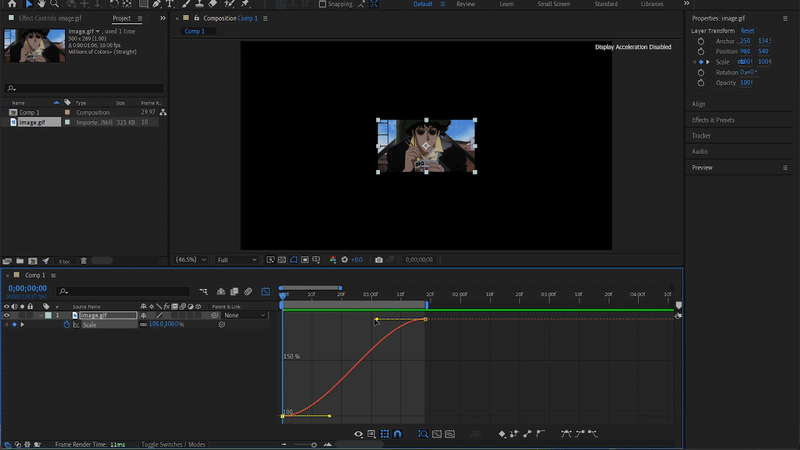
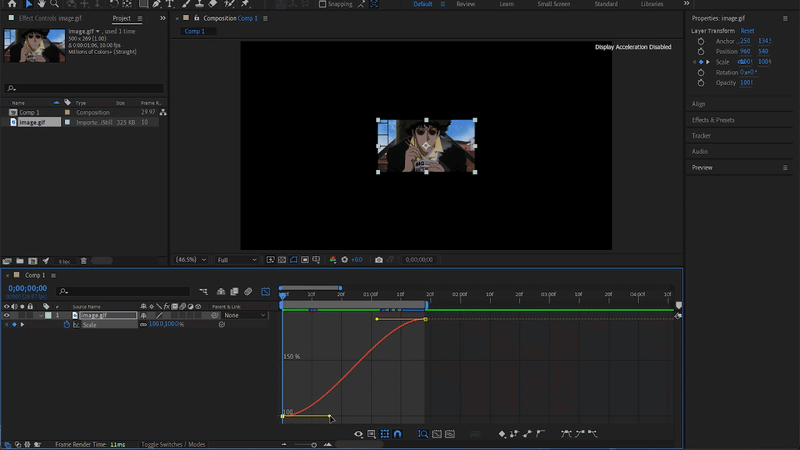
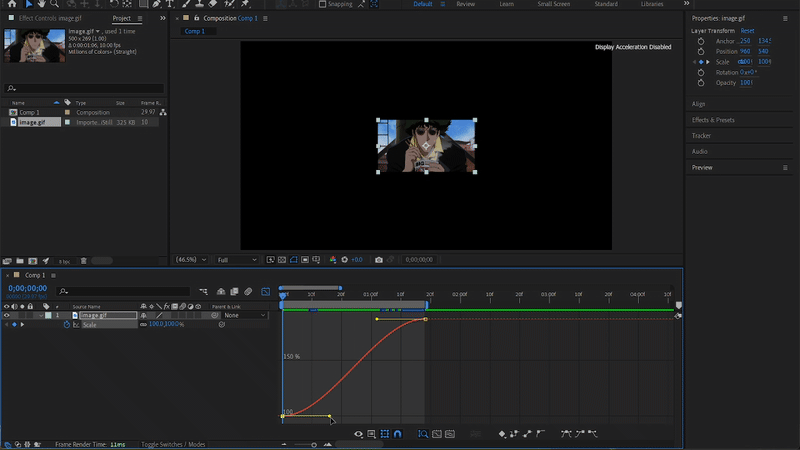
Example (scale)
Value graph
Speed graph
When you’re working inside the Graph Editor in AE, the little yellow handles attached to the keyframes, allow you to customize the interpolation curve between keyframes (it means how the animation behave from one keyframe to the next).
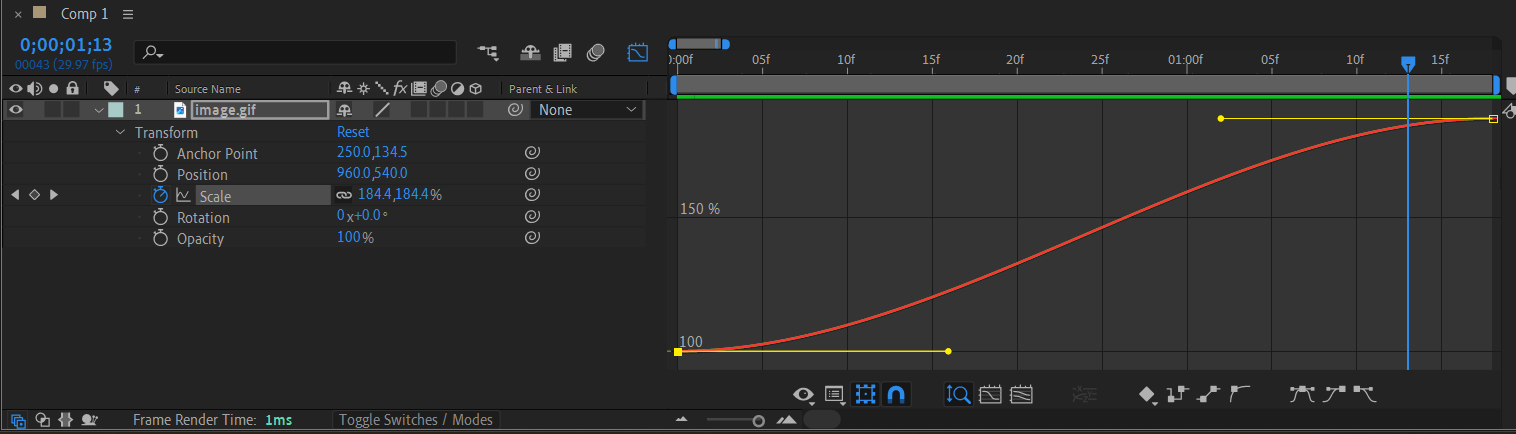
These curves can represent either values or speed, depending on which mode you’re in.
In the previous examples, i’m animating the scale property of the image. Now, i want to change the value graph, which means i’m looking at how the actual scale percentage changes over time.
The animation starts at scale and ends at
So, what happens when you move those yellow handles?
- Pulling the handle farther out horizontally makes the curve smoother and more gradual, creating a slower start or end (depending on which side you’re editing)
- Dragging it up or down affects how fast the value is increasing or decreasing in that section
- A steep curve means a fast change in scale
- A flat curve means a slow or barely noticeable change
- Dragging the handle to the right you delay the influence of that keyframe
- The value changes more slowly at the beginning
- Visually, the animation starts slower and finishes faster
- Dragging the handle to the left you make the curve steeper sooner, that means:
- The change in value happens more quickly at the start and then it slows down as it approaches the keyframe
- Visually, the animation starts fast and eases out sooner
Samples

Warning
When you drag a handle in the opposite direction of the value’s natural movement (like downward on a scale-up animation), you can create a sort of “bounce” or overshoot.